When I decided to make my first Pom Pom Pillow I wanted the pompoms to be perfect, and fast. There are many methods to making pom poms but if you want to Make Perfect Pom Poms Every Time there is one trick that never fails.
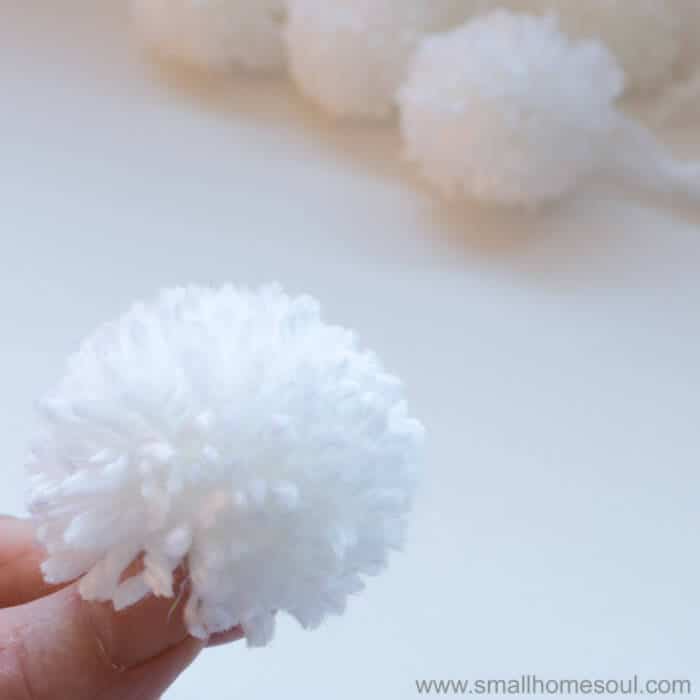
For this demonstration I’m going to make a 2″ pom pom because that’s what I needed for the Christmas Pom Pom Pillow I made recently.
Perfect Pom Pom Supplies
- 1 Skein of Yarn
- 1 3 oz. skein made twelve 2″ pom poms with some left over
- Pom Pom Makers (this is optional)
- Sharp Scissors
- 2 pieces of Cardboard cut into 2″ circles
- Yarn Bowl
Picking the Perfect Size Pom pom
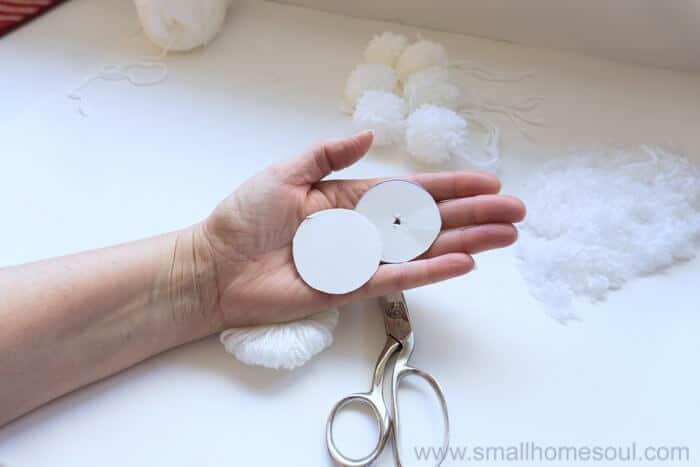
Step 1: Trace an outline for your pom pom.
I started by tracing the bottom of a small tupperware tumbler (throwback cup, way way back) onto a piece of cardboard and cutting them. Poke a hole in the center of one round with scissors.
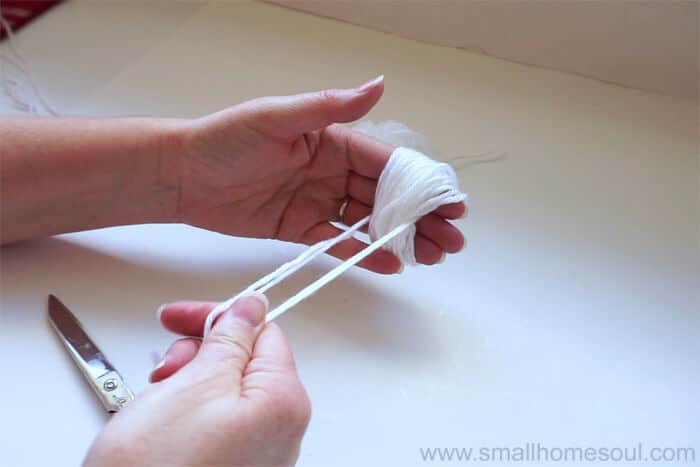
Step 2: Wrapping up the yarn.
- Cut off about 12″ of yarn as your tie and set it aside.
- Wrap the yarn around 3 of your fingers 60 times
If you’re making bigger pom poms, or you want a fuller pom pom, you’ll need to wind the yarn more than 60 times. Play with making a few first before you start making them for a specific project.
Step 3: Tie off your pom pom securely.
- Take the tie and slip one end between 2nd and 3rd finger nearest your palm and wrap around and between your 1st and 2nd fingers to tie in the center but not too tight.
- Once you have it secured slip your fingers out, align the tie so it’s centered and then tie securely.
- You can use a surgeon’s knot for the first tie which will hold it securely until you can tie the final knot.
Step 4: Cut around the pom pom.
- Holding the long tie ends cut the loops of yarn

- Slip the long tie ends of the pom pom through the holes in the cardboard circle.
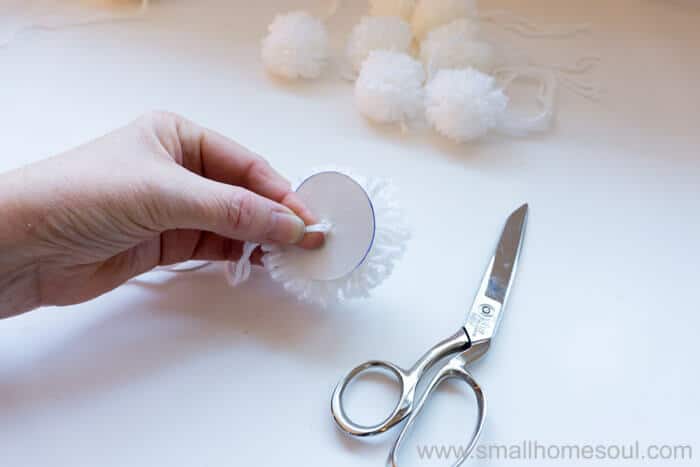
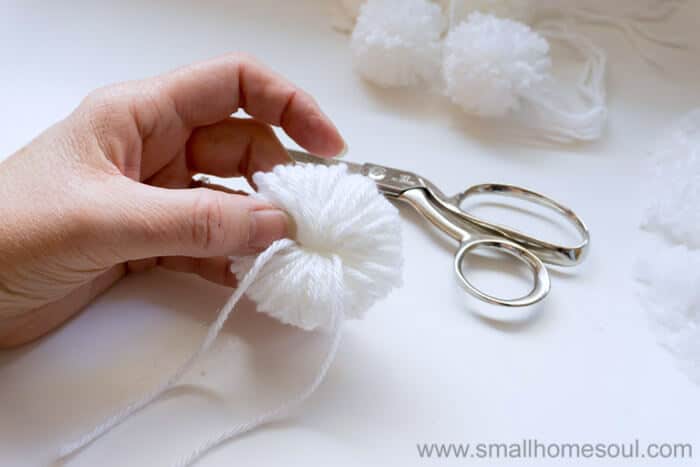
Step 5: Trim the edges of your pom pom.
- Top with the other cardboard circle, line up the edges of the top and bottom cardboard and hold securely
- Using sharp scissors trim the yarn up to the edge of the cardboard circles.
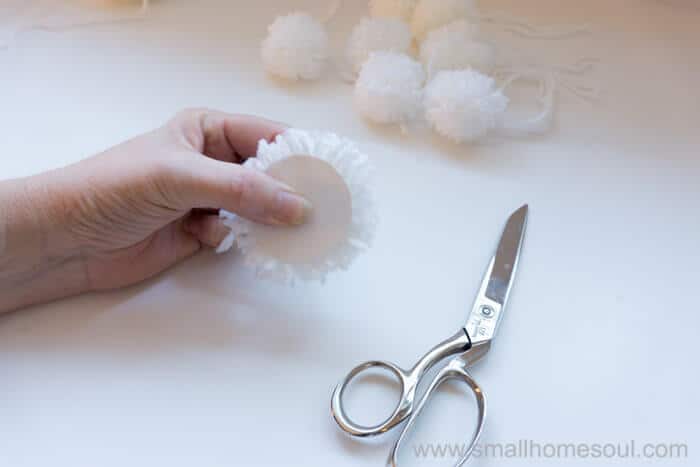
- Pull both cardboards off.
- Holding the long ties turn the pom pom 1/4 turn and work the tie through the yarn.
- Use your fingers to comb and flatten out on top and bottom so the yarn is like a disk again
- Wind up the tie and place it in the center of the disk
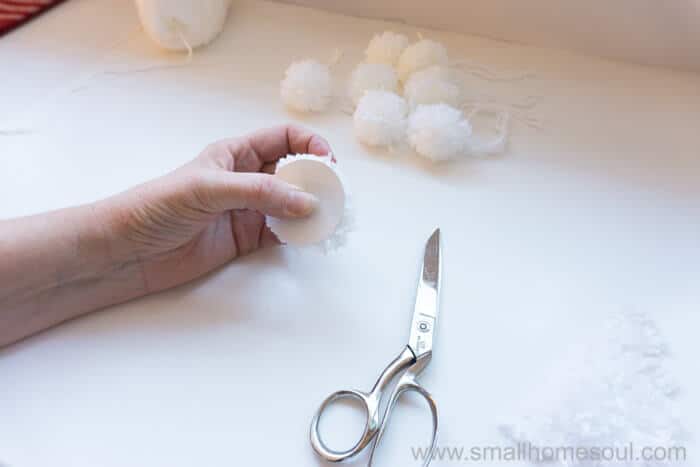
- Top with a cardboard circle to protect the tie from being cut and place the other cardboard circle on the bottom.
- Trim the edges of yarn again. This time the exposed yarn will be much shorter.
MORE YARN PROJECTS
Tassle Ornaments – Pom Pom Pillow
DIY Pompom Wreath
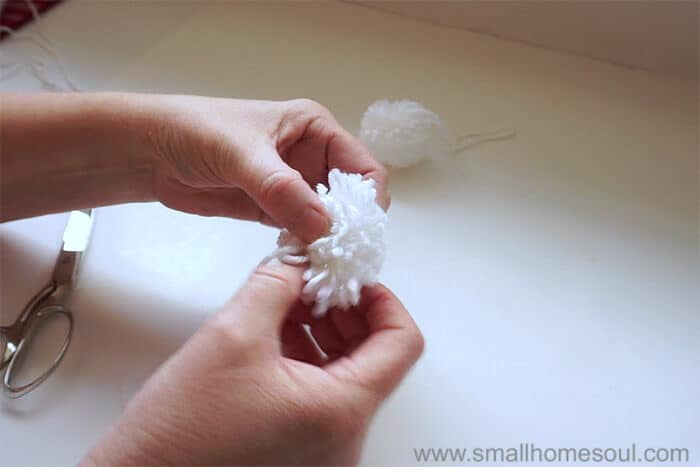
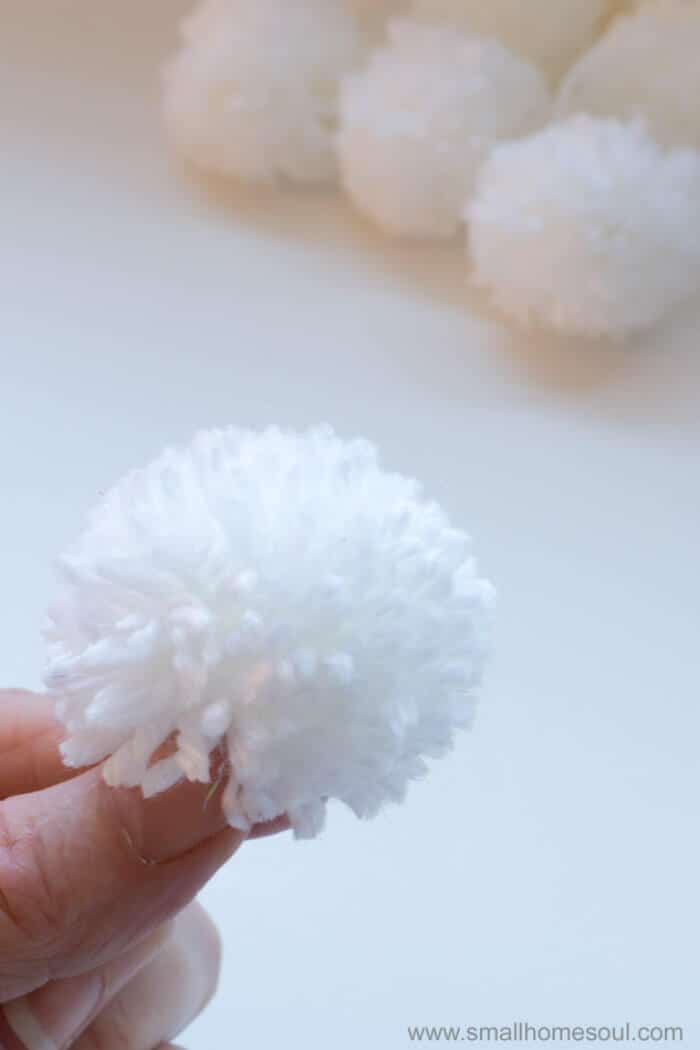
Step 6: Fluff the pom pom.
- After all the yarn is trimmed hold the pom pom by the long tie and give it a good shake.
Keep making your perfect pom poms until you have enough for your project. If your yarn is in a ball then you will love using a DIY Yarn Bowl. I made one from a neglected wooden bowl and it works perfectly.
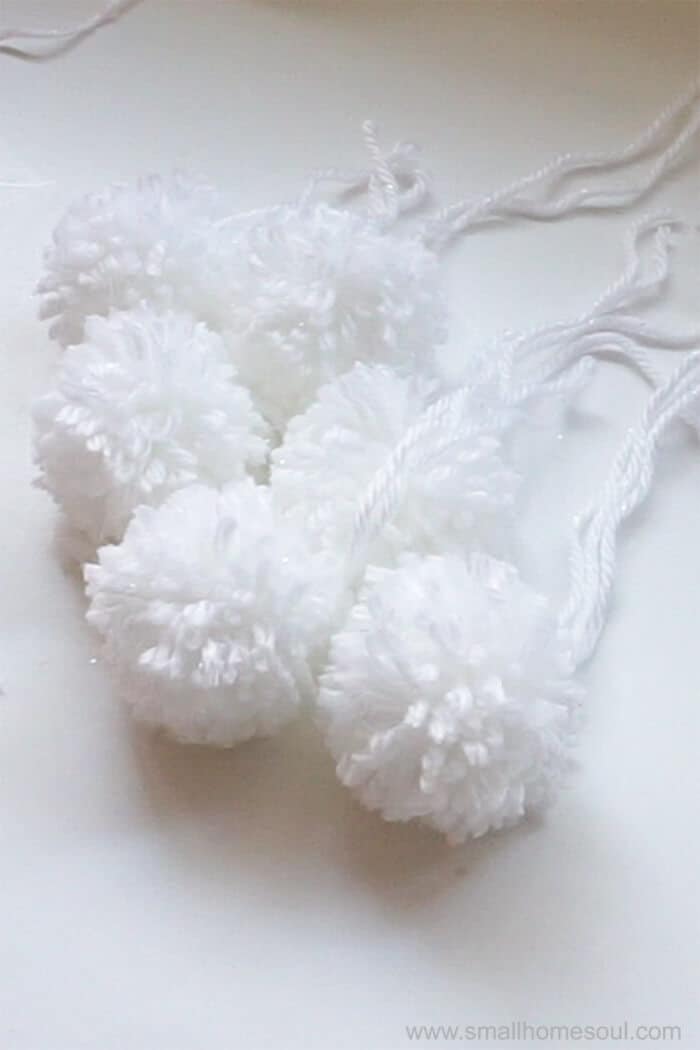
What project will you make with your pompoms? A pillow, a rug? I’d love to hear what you’ll use yours for!
Love it! Pin it!
Anika
Tuesday 28th of November 2017
I love pom poms and I haven't made any yet!! (I know... so sad! ) I am always overwhelmed by the number of various ways and devices to make pom poms.... but this is so easy!! I am saving this for the future!