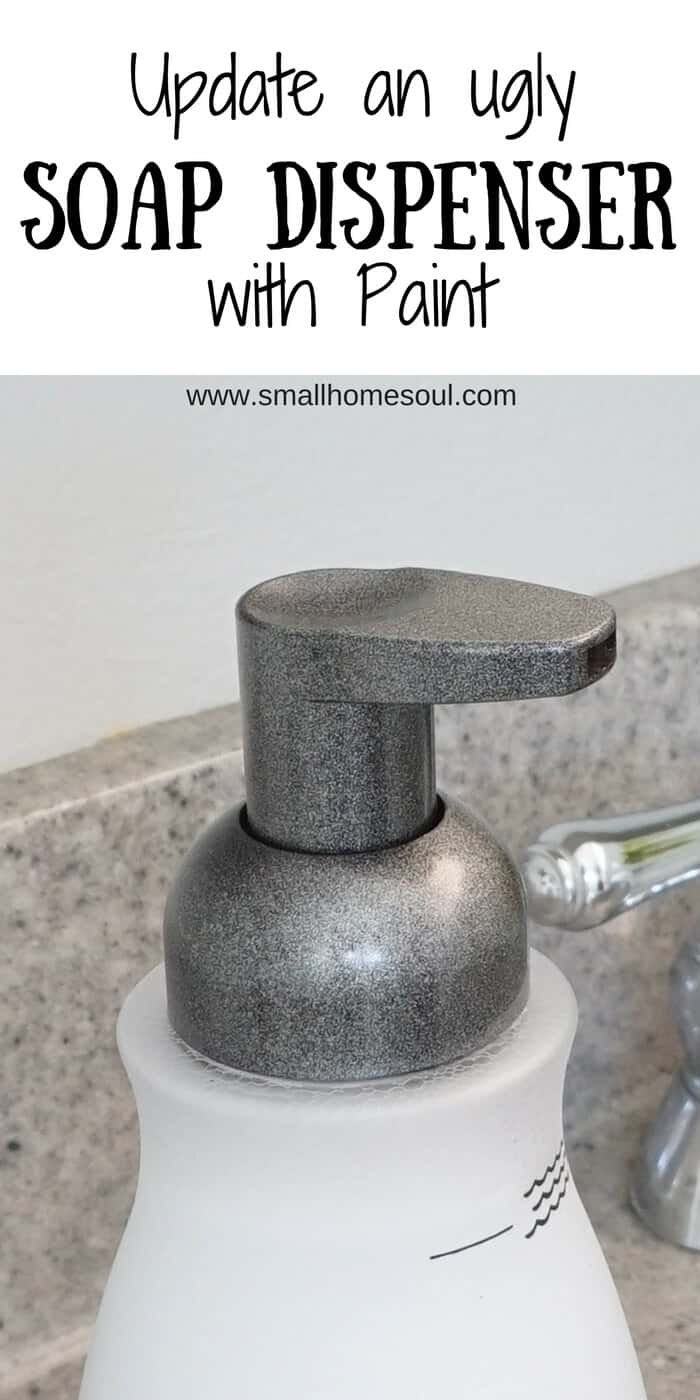
Have I got a quick update for you today! I needed to find a better soap dispenser than the boring one the liquid soap came in. I decided to do a quick and Easy Soap Dispenser Update since mine worked perfectly.
SPACER
When I was making over my Master Bathroom I wanted every bit of it to be pretty when I was done. Of course I had to do it on the cheap because in that challenge the budget was $100.
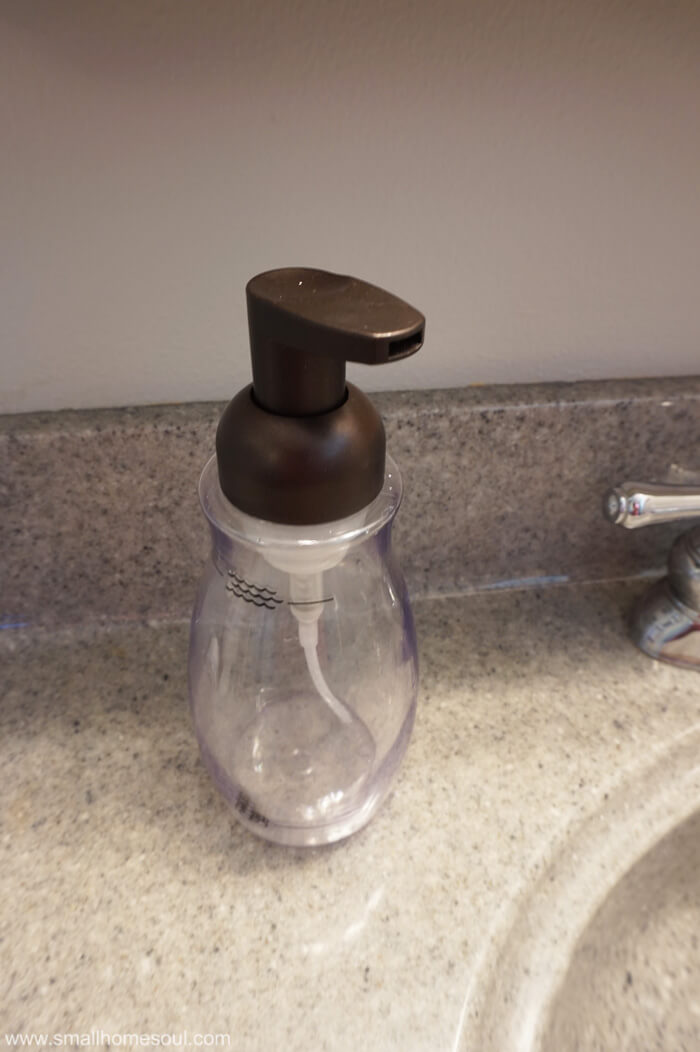
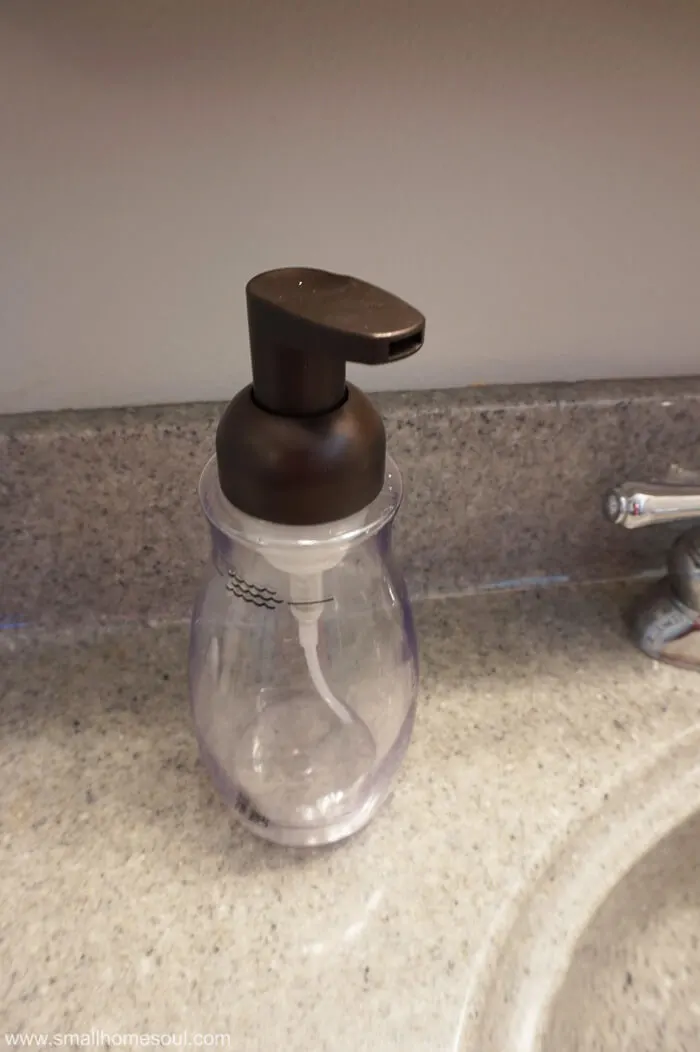
Thankfully I remembered I had a foaming soap dispenser in the garage that I almost got rid of. It worked ok but it was brown and boring.
I’m happy to show you how to give an easy update to your boring soap dispenser with paint. Here’s the soap dispenser before, it looked ok but it didn’t look great in my newly updated bathroom.
This page contains links to products, if you purchase something after clicking on a link I may earn a small commission (at no cost to you). If you do make a purchase, thank you!
You can read about affiliate links here.
Soap Dispenser Makeover Supplies
- Foaming Soap Container/Dispenser (or non-foaming if that’s what you like)
- Painter’s Tape
- Glossy Black Paint
- Flat Antique Nickel Spray Paint
- Frosted Glass Spray Paint
SPACER
Soap Dispenser – The Update
Step 1: Disassemble the soap dispenser.
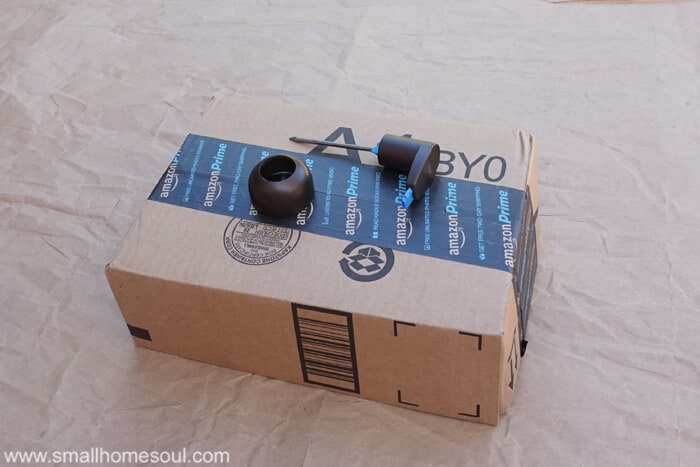
Unscrew the top from the bottle and slip the collar piece away from the plunger portion of the pump. Pull out and set aside the uptake tube. Replace it with a large nail or a chopstick so after it’s painted you can stick it into a cardboard box to dry.
Step 2: Tape off areas for protection.
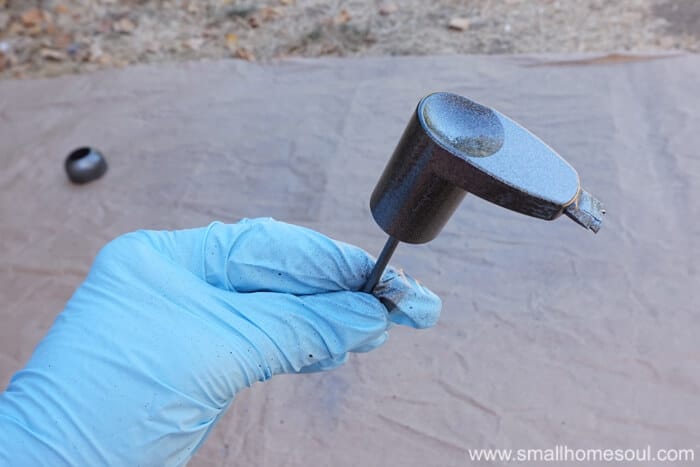
With blue painter’s tape cover the underside of the pump head and wrap a bit around the nail. Next roll a small section of tape so that the sticky side is on the outside. Now slip the tape roll into the hole where the soap comes out. This allows you to paint the end of the dispenser and keeps the paint from going where you don’t want it.

SPACER
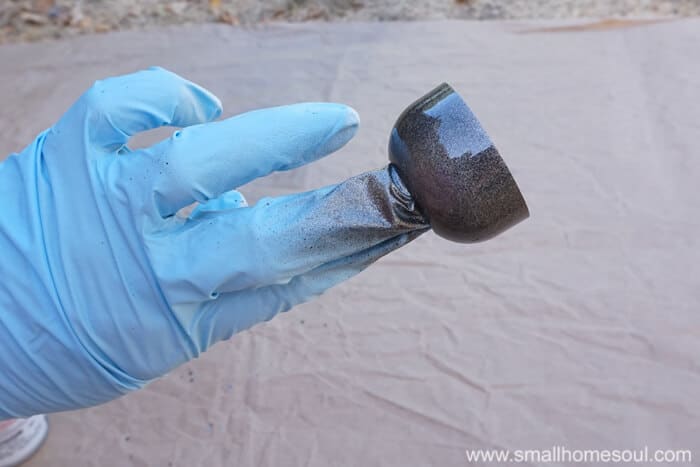
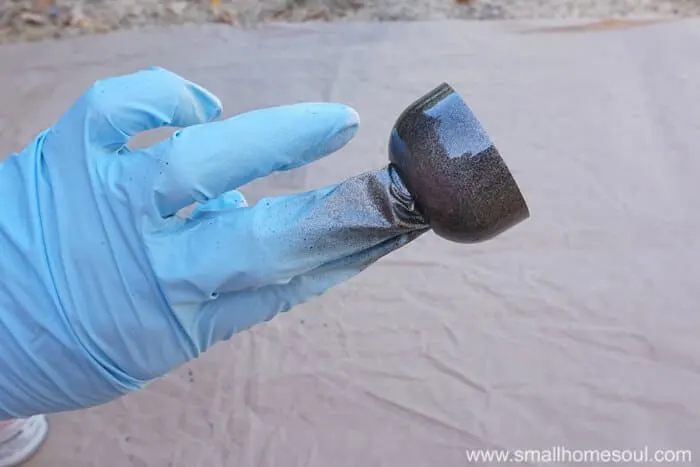
Step 3: Spray paint all the parts.
With a glove on one hand hold the collar of the dispenser and spray with the glossy black paint until it’s covered. It’s best to use a back and forth motion across what you’re painting with a few light coats to avoid drips.


SPACER
Next, and while the black paint is still wet, spray lightly with the Antique Nickel across the black until you get the desired look. It’s ok if it’s not perfectly uniform, that adds to the uniqueness of your updated soap dispenser.
SPACER
Follow the steps above on the pump portion of your soap dispenser.

SPACER
Stick the nail end into a cardboard box to dry. The last step is to frost the body of the soap dispenser.
SPACER
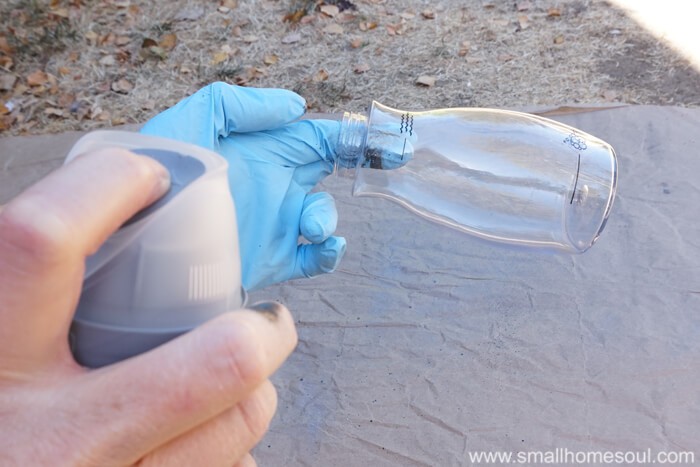
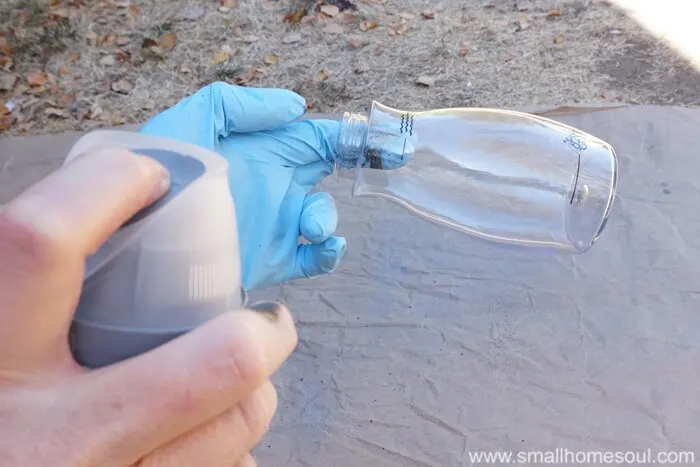
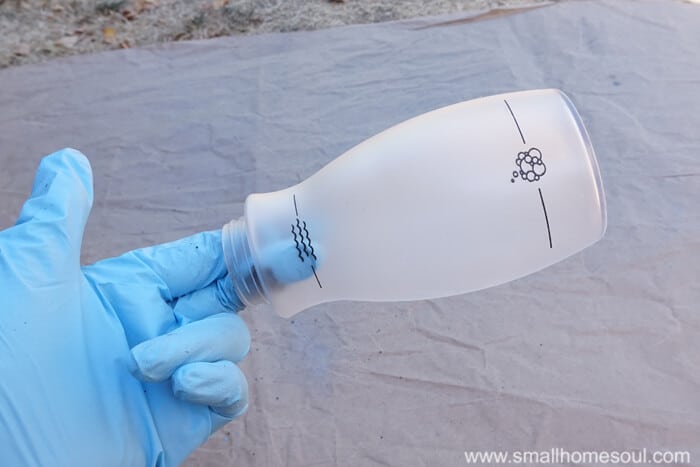
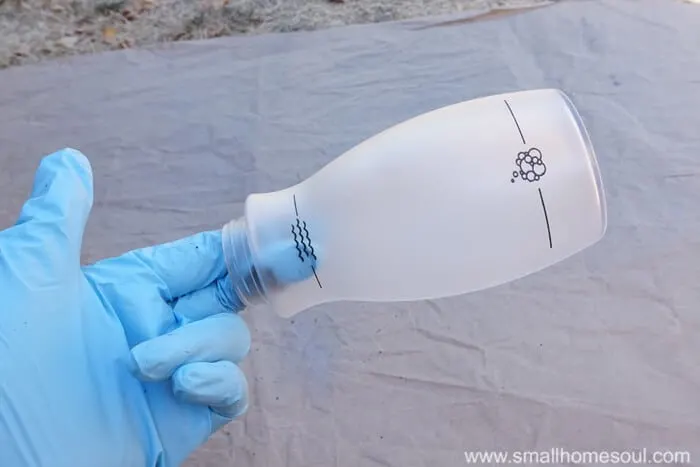
Grab that can of Frost Paint and get busy spraying that plain-jane bottle.
SPACER
Step 4: Allow to dry fully then reassemble.
Set everything aside to dry overnight. The next day assemble and fill your newly updated soap dispenser.
If you don’t already have a foaming soap dispenser here’s a cool product to make your own using any regular mouth mason-style jar.
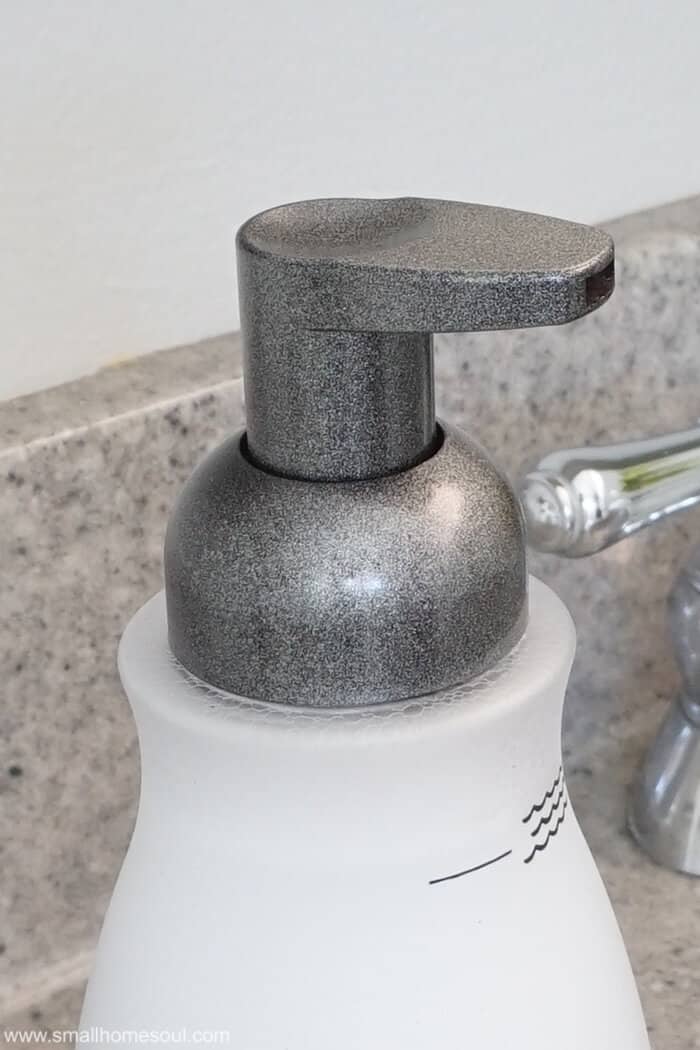
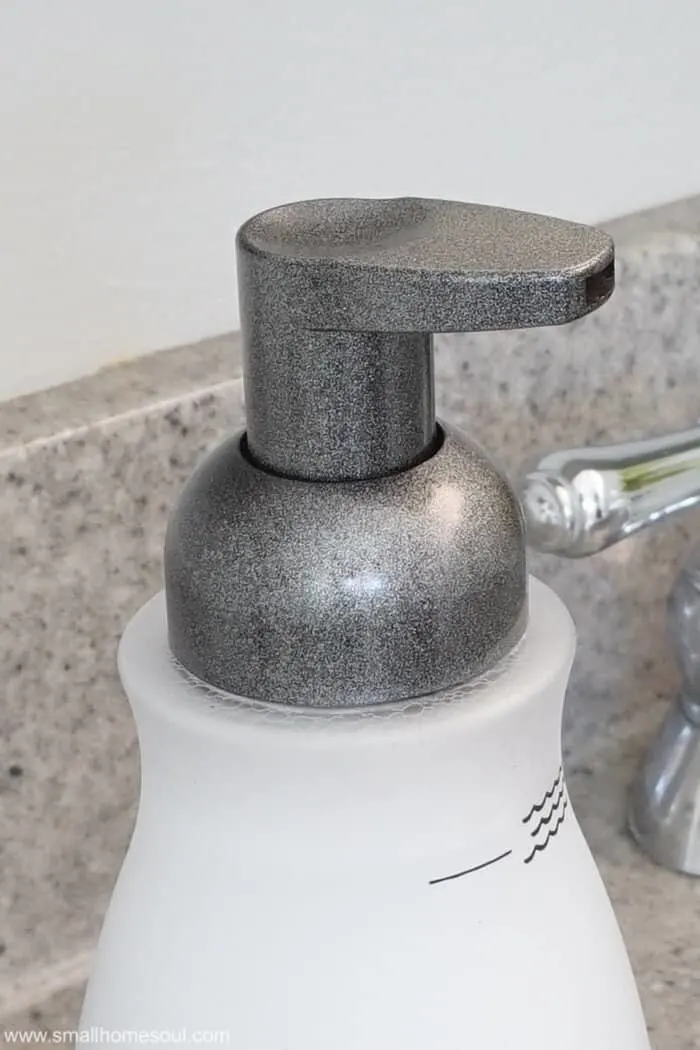
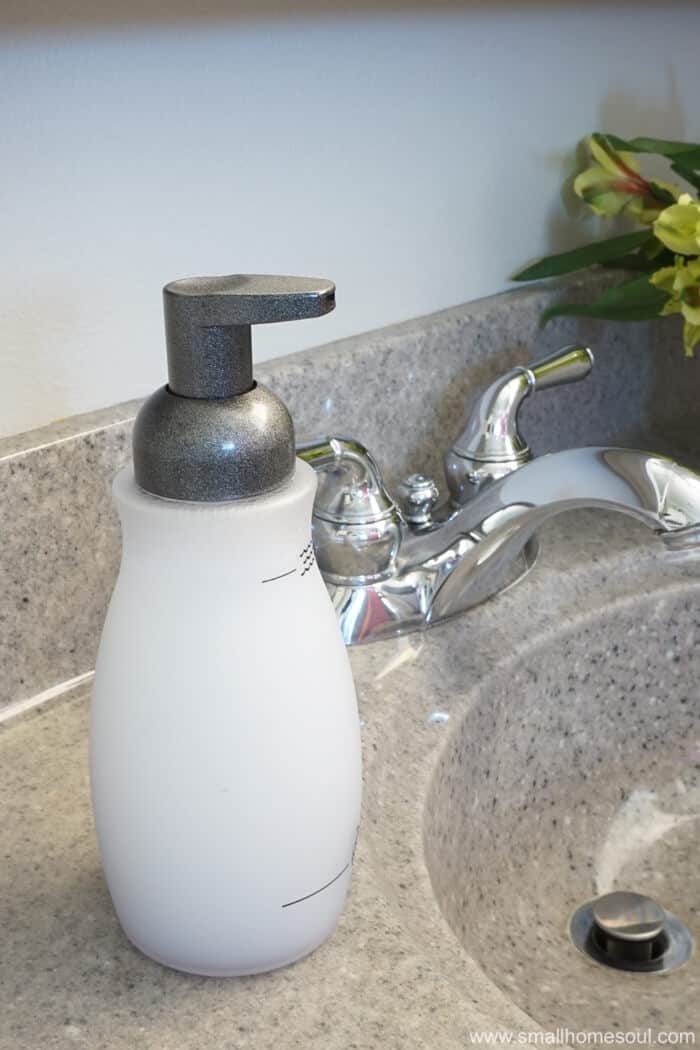
Enjoy the beauty of your updated foaming soap dispenser!
Just look at that beautiful finish!
A much better fit for my new bathroom than the old boring brown one.

SPACER
That’s it, it’s that easy to beautify your foaming soap dispenser! I used this same technique on the Bathroom Light Update and I love it! Now, go look for your old soap dispenser and get busy painting. But first, don’t forget to Pin it so you can refer to it when you’re ready!

SPACER
What easy updates have you done with paint? I’d love to hear all about them so please leave me a comment below.
Tessa
Thursday 26th of June 2025
I'm just curious how well this has held up for you with daily used? I have some pumps that I have been considering painting because the original finish on them has scraped off, but I keep figuring that the spray paint will also scrape off. I guess it can't be any worse than it already is…
Toni
Thursday 29th of January 2026
The paint on it held up really well until the pump itself just broke about six months later I couldn't fix it and had to toss it out. I guess if you had kids and used it a lot eventually the paint might start to scrape off.
wendy robbins
Thursday 10th of November 2016
This is brilliant. I love revamping small things for such a big impact!
Toni Harvey
Thursday 10th of November 2016
Thanks Wendy, it went from boring to glamorous and took almost no paint or time to make it happen. If you haven't seen it yet head on over to my newest post https://www.girljustdiy.com/how-to-install-shelves/ and sign up to win some freebies from HomeRight that will help you in your DIY projects.
Leanna
Tuesday 8th of November 2016
I didn't start using spray paint until a year or so ago, no I have partial containers in five or six colours. This is a simple project, but what a difference.
I love projects that update something making it still useful and Pretty.
Pinned
Toni Harvey
Thursday 10th of November 2016
Thanks Leanna, I have been a lover of spray paint for a long time, quick and easy updates are my favorite. If you haven't seen it yet head on over to my newest post https://www.girljustdiy.com/how-to-install-shelves/ and sign up to win some freebies from HomeRight that will help you in your DIY projects.